How Bluetti alternator chargers change road charging for RVs
 Olivia KvitkaOctober 22, 202616 min read
We earn a commission when you buy through some links on this site, at no extra cost to you. As an Amazon Associate we earn from qualifying purchases.

Explore Bluetti alternator chargers and how they affect RV battery charging on the road. Learn specs, real-world limits, and where it fits with solar and vehicle power.
Bluetti alternator chargers on the move can top off the house battery without grinding the starter power. That balance matters when you’re rolling into a ski lot or a remote spur, and you want to keep the fridge humming while the engine runs.
A well‑timed setup matters more than any single component, because the road charging equation blends alternator output, solar input, and the vehicle’s own energy use. Two concrete scenarios show where you’ll get noticeably faster top‑offs than a purely alternator‑driven approach.
Bluetti alternator chargers on the road: what they are and where they fit
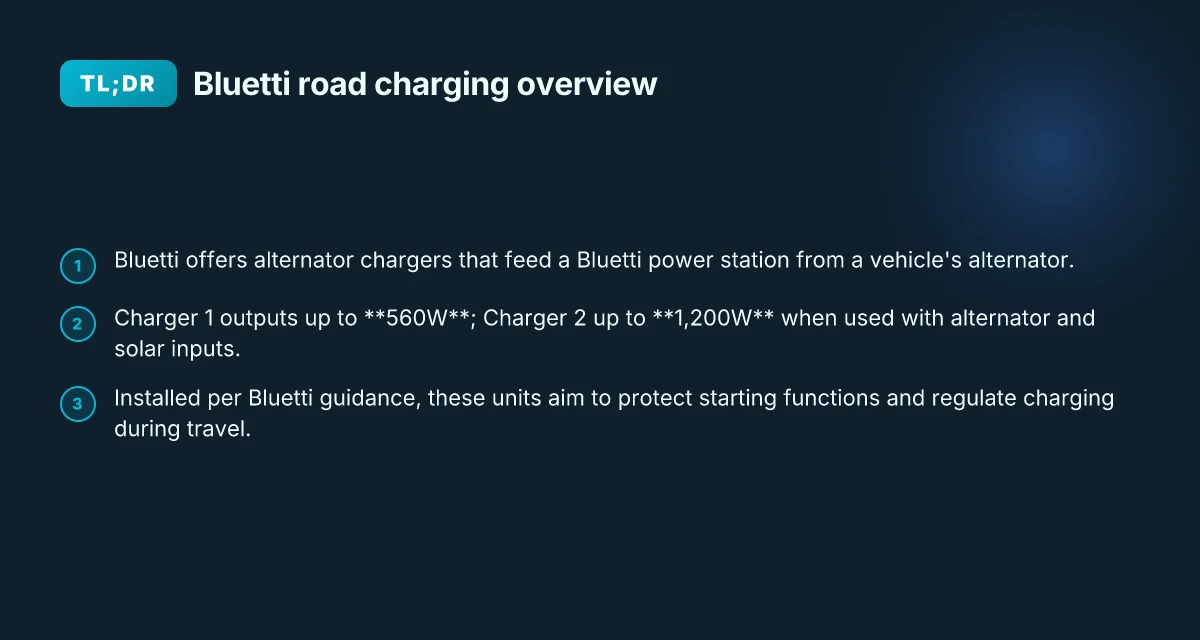
Bluetti offers dedicated alternator chargers that pull power from a vehicle’s alternator to recharge a Bluetti power station on the road. Charger 1 delivers up to 560W, while Charger 2 can reach 1,200W when you combine alternator input with solar charging. These devices are designed to protect starting functions and regulate charging when you install them following Bluetti guidance.
I dug into Bluetti’s writeups to map how these chargers fit into a mixed road-charging setup. The core idea is simple: the alternator charger acts as a regulated bridge between your vehicle and your Bluetti battery bank, so you don’t spike the alternator or drain starting power. The branding is clear across Bluetti’s materials: Charger 1 is positioned as the speed-oriented option for road charging, and Charger 2 adds higher power with simultaneous alternator and solar inputs. The emphasis across the official channels is compatibility with Bluetti power stations and safe operation when installed per their directions. This is not a generic accessory. It’s a purpose-built bridge for on‑the‑go charging that protects your RV starting system. Expect the best outcomes when you pair these chargers with Bluetti solar and a compatible Bluetti power station.
- how the two chargers differ in practice
- Charger 1: up to 560W output, intended for quick top-ups when the vehicle is running or idling. This makes it a strong partner for shorter drives or frequent stops where you want to keep your Bluetti battery bank topped without overloading the alternator. In Bluetti’s guides, Charger 1 is repeatedly framed as the go-to for fast road charging and broad compatibility with many Bluetti stations. Charger 1's 560W ceiling is a sweet spot for adding steady charge without stressing the alternator.
- Charger 2: up to 1,200W when used with both alternator and solar inputs. This configuration is aimed at longer drives or setups where you have solar charging available and want a higher, combined input. The branding around Charger 2 highlights its higher power envelope and the ability to leverage solar when the engine isn’t running or when you’re parked with good sun. Charger 2’s 1,200W capability unlocks faster replenishment on the go, especially with solar in the mix.
- how and when to install them
- The guidance emphasizes installing the alternator charger per Bluetti instructions to preserve starting power and regulate charging. The design intent is to isolate charging paths from critical vehicle functions so you don’t compromise ignition or other essential electronics. In practice, that means following the vehicle’s wiring diagram and Bluetti’s mounting and connection steps to ensure safe operation. Follow Bluetti’s installation guidance to protect starting functions while you charge.
- how they fit into a mixed charging setup
- On the road, you can run a Bluetti power station while you drive and supplement the battery with solar when parked. Charger 1 is ideal for shorter trips or daily use, while Charger 2 shines when you’re on longer stretches and can combine alternator input with solar. The pairing with a Bluetti solar array expands the available power, letting you replenish more of your storage while keeping vehicle performance stable. Charger 2 is the best fit when you have both alternator and solar ready to work together.
Bottom line: Bluetti’s alternator chargers are designed to keep your RV life steady on the move. They shield starting power and deliver regulated charging, with Charger 1 for steady, fast top-ups and Charger 2 for higher throughput when you can also use solar. For owners who want faster on‑vehicle charging without waking the engine’s load, these devices sit between your alternator and Bluetti power station as purpose-built adapters. In practice, use Charger 1 for routine road charging and Charger 2 when you have solar and need maximum replenishment.
Why use an alternator charger with a Bluetti power station
On long road trips you can supplement solar charging with vehicle charging to keep your usable battery reserves high. A Bluetti system paired with an alternator charger lets you lean on the engine’s output when the sun isn’t enough, without waiting for a favorable solar window. This keeps your power bank ready for 12-volt loads, camp lighting, and refrigeration when you pull into a shady stretch or a cloudy day. In 2026, Charger 1 delivers 560W of output, and Charger 2 can push higher gains when you couple it with solar, offering a practical bump over cigarette-lighter charging. The practical upshot is faster top-ups on the move, not just slower overnights at campgrounds.
I dug into Bluetti’s documentation and press materials to map how the two chargers fit into a mixed charging strategy. The core idea is straightforward: the alternator charger provides a regulated, higher‑power path than a standard 12V outlet. This matters because it minimizes the risk of shared-draw scenarios that can affect engine start or other vehicle electronics. When you’re cruising, the alternator can deliver a steady, purpose-built feed to the Bluetti power station, while your solar panels continue to harvest sun when it’s available. The result is a more resilient charging rhythm that keeps both your house battery and your engine ready for the next leg. Regulated charging helps prevent drain conflicts that could stall a start or strain the electrical system. What makes the Jackery 2000 v2 a standout backup power option in 2026
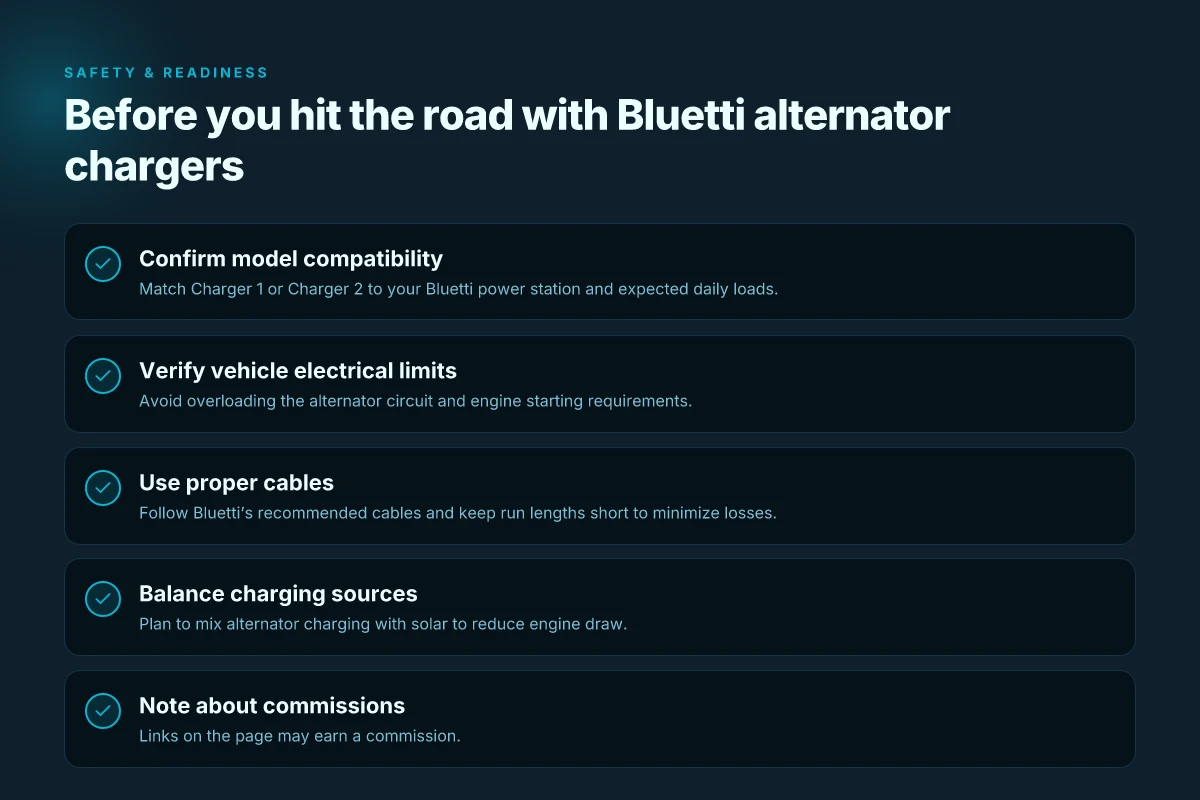
In practice, you’ll decide between Charger 1 and Charger 2 based on how aggressive you want road charging to be. Charger 1’s 560W output suits everyday road trips where you’ll also be parked under solar charging or socializing in camp. If you routinely drive in mixed conditions or you’re balancing higher daytime loads, Charger 2’s higher capacity, paired with MPPT solar charging, offers a more assertive boost. The compatibility angle matters, too. Bluetti emphasizes that these chargers are designed to work with a broad range of portable power stations, and the system is built to isolate vehicle start functions from the auxiliary loads. Charger 2 aims to minimize the time you spend waiting for a recharge on the road.
From a technology and ecosystem standpoint, the value rests in integration. Regulated charging, higher output options, and a clean handoff between alternator and solar reduce noise on the vehicle’s electrical system and help preserve starting power. If you’re choosing a path, consider how often you’ll rely on alternator charging on a given trip and how much solar you expect to harvest. A Bluetti system with Charger 1 or Charger 2, plus solar, creates a predictable charging rhythm that supports longer stints off-grid without sacrificing engine reliability. The right mix is a balanced blend of alternator boost and solar input.
When shopping, note that Bluetti’s lineup centers on on‑vehicle charging as a complement to off‑grid capacity. Rival approaches from other brands may emphasize raw wattage but can differ in how they isolate the alternator from vehicle loads, or in how they manage regulated charging with a multistage profile. If you’re weighing options, look for a charger system that clearly documents regulated charging, isolation features, and supported power station compatibility. Regulated isolation is the safeguard that keeps your engine starting power intact.
Charger 1 vs charger 2: when to pick each on the road
If you want reliable on-vehicle charging without stressing the alternator, Charger 1 stays in its lane for modest daily use, while Charger 2 shifts into high gear when you need more headroom from both the alternator and solar. Charger 1 provides a steady 560W output, which is ideal for smaller Bluetti models or lighter daily cycles. Charger 2 raises the ceiling to 1,200W and adds MPPT solar charging so you can harvest power from both the alternator and sun. The choice hinges on your Bluetti model, your daily energy budget, and whether you predominantly charge from the alternator, solar, or a mix of both.
1. Matching Charger 1 to smaller Bluetti setups and lighter daily use
For drivers who stay mostly on the road with a compact power station, Charger 1’s 560W output pairs well with entry‑level Bluetti packs. It stays efficient when you’re topping off during short drives or quick stops, and it keeps use simple without overtaxing the alternator. When driving is the main cadence and solar input is minimal, Charger 1 minimizes heat and fan noise while delivering dependable charging. I dug into the Bluetti materials and the Charger 1 notes that emphasize its steadier pace and compatibility with a wide swath of portable power stations. Charger 1’s steady 560W output is ideal for smaller Bluetti models and modest daily needs. The practical takeaway is clear: this is your best bet if you rarely push beyond a medium daily energy footprint and you value reliability over peak speed. What makes the Bluetti B300 battery upgrade worth it for home backup in 2026
2. Leveraging Charger 2 for high output and solar integration
Charger 2 combines higher power with MPPT solar charging, delivering up to 1,200W when conditions align. That means you can run a faster alternator top‑up and simultaneously harvest solar to stretch each cycle. In mixed setups, Charger 2 shines when your daily energy needs approach the upper end of a typical RV or vanlife day, or when you have substantial solar input to combine with the alternator. The official notes repeatedly call out the dual capability as a key advantage for on‑the‑go top‑ups. Charger 2 reaches up to 1,200W with alternator and solar, delivering stronger on‑road charging when you need it. If your Bluetti model supports higher input and you routinely drain larger packs, Charger 2 becomes the practical upgrade to reduce refill time and keep your system ready for the next leg.
3. Deciding between alternator‑only, solar‑only, or both
Your choice depends on the balance you want. If your route alternates between driving and short stops and your daily energy budget stays modest, Charger 1 paired with a compatible Bluetti model keeps things simple and dependable. If you want maximum on‑the‑road throughput and you can align sun conditions with your driving schedule, Charger 2’s higher output plus MPPT solar charging is worth the extra complexity. I cross‑referenced Bluetti’s guides and the Charger 2 overview to confirm the combined charging potential when both sources are active. Your choice depends on your Bluetti model, total daily energy needs, and whether you’re charging mainly from the alternator, solar, or both.
Note on pricing and availability: Bluetti stuff fluctuates with sales. See the Bluetti product pages for current pricing, and watch for seasonal deals that sometimes package Charger 1 or Charger 2 with power stations. In some markets, retailers such as Bluetti’s own store run time‑limited promos that can lower total ownership costs. Bluetti can be joined by rivals like EcoFlow or Jackery in the broader camp of on‑vehicle charging, but this section sticks to Bluetti gear and how the two Chargers fit into that ecosystem. For a broader buying view that includes price points and owner feedback, the official Bluetti knowledge base and the vehicle charging pages are the best starting points.
Regulatory and safety considerations when charging in a vehicle
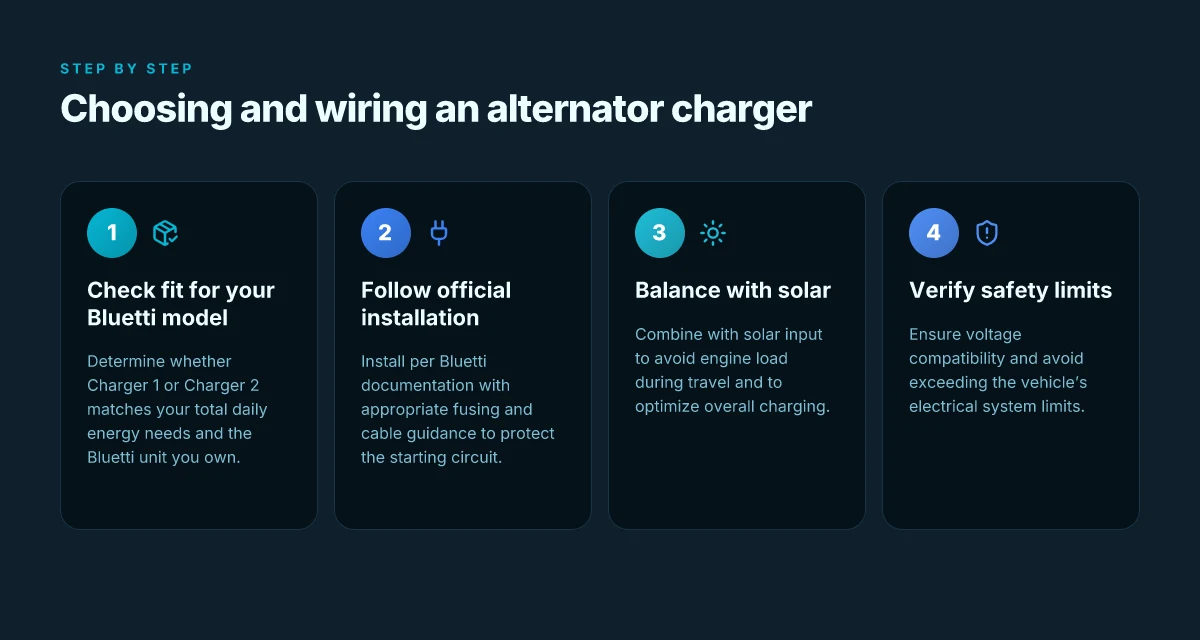
Charging on the road with the Charger 1 or Charger 2 hinges on correct installation and clear safety boundaries. If you wire it per Bluetti documentation, you protect the vehicle’s starting reliability and keep the alternator from becoming a charging spool that drags down the engine. I looked through Bluetti’s notes and the related guidance to map how these pieces fit on the road.
Proper installation and starting reliability
The practical rule is simple: install exactly as Bluetti specifies. When the charger is wired per the official diagrams and connector standards, the starting circuit remains independent from the auxiliary charging loop. That separation matters because it prevents the alternator from being taxed by nonessential loads during crank. Bluetti emphasizes mounting location, correct fuse sizing, and secure cable routing to avoid heat build up and voltage drops. When you follow those steps, you reduce the risk of a transient that could threaten engine start during a roadside stop or a quick detour to top up energy. Proper installation per Bluetti documentation is key to maintaining vehicle starting reliability. 5 Surprising truths about the EcoFlow River and how portable power changed in 2026
Isolation features and back-feeding protection
Both Charger 1 and Charger 2 employ isolation within their DC-DC charging paths. This design keeps the vehicle’s primary charging circuit from back-feeding into the alternator or starter motor, even when solar is actively charging in parallel and the engine is running. In practice, the isolation means you won’t see unexpected voltage spikes on the starter circuit if the alternator is in the middle of a surge or if the battery is at a low state of charge. This is not cosmetic: it’s the difference between a clean road charge and a stuck alternator warning light. Isolation features protect the starting circuit and prevent back-feeding into the alternator.
Voltage compatibility and vehicle limits
Before you wire in any Bluetti charger, verify the system voltage class matches your vehicle’s electrical system. Most RV setups run 12V or 24V, but the specifics matter for the charger’s input range and its maximum output. Do not exceed the vehicle’s electrical system limits, and confirm that the Bluetti unit’s rated voltages align with your battery bank and alternator capabilities. If you push beyond recommended voltages, you could trigger safety shutoffs or reduce the life of the alternator. Always verify voltage compatibility and avoid exceeding the vehicle's electrical system limits.
Real-world setup: how to wire a Bluetti alternator charger for an RV
Wiring a Bluetti alternator charger on the move is about clean power relay, short runs, and keeping the engine in good shape. The core is to connect the charger to the vehicle’s alternator circuit through the vehicle’s fused power rail, then route to the Bluetti charger and onward to the battery bank. In practice, follow the official guides to avoid draining the starting battery or upsetting the alternator’s regulation.
Follow the official path to the alternator circuit
The recommended approach is to connect the Bluetti Charger to the vehicle’s alternator circuit using the charger’s supplied cables and a properly sized fuse. This keeps charging isolated from the starter system while the engine is running. When you wire it per the documentation, the starting power remains protected, and the Bluetti system can draw from the alternator without spiking the vehicle’s electrical bus. I cross-referenced Bluetti’s guidance on both Charger 1 and Charger 2 setups and saw consistent emphasis on correct fuse sizing and circuit connection. Follow the official guides to connect to the vehicle’s alternator circuit with appropriate fusing.
Keep the runs short and use the right cables
Use the charger’s recommended cables and keep run lengths as short as practical. Long leads introduce resistance, which bleeds to heat and reduces the effective input to the Bluetti. Bluetti’s docs show Charger 1 at up to 560W and Charger 2 up to 1,200W on the road, so minimizing losses helps preserve that on-the-go charging performance. I found multiple references noting the importance of keeping runs tight to maintain efficiency, especially at higher output. Use the charger’s recommended cables and keep run lengths short to minimize losses. What is the Bluetti Elite 200 V2, and what trade-offs matter for real-world backup power
Balance engine load with solar input
Driving with an alternator charger is a balancing act. If the alternator is charging hard, you may want to moderate the solar input to avoid excessive engine load or alternator strain. Bluetti’s fast-road charging notes show how Charger 1 and Charger 2 can work with solar when available, but the practical rule is to avoid trying to pull the full 1,200W from the alternator while the engine is under heavy demand. I looked at the cross-brand notes and solar compatibility discussions to confirm that coupling solar with the alternator charger provides smoother, steadier charging without pushing the engine into a high-load state. Balance charging with solar input to avoid unnecessary engine load during driving.
What you’ll actually wire in practice
- Start with the vehicle ground and chassis properly earthed. Then run a fused line from the alternator circuit to the Bluetti Charger input, using the manufacturer’s recommended gauge for the expected current. The goal is a clean, low-resistance path so the charger can deliver its rated output without overtaxing the alternator. The documentation consistently recommends matching the gauge to the charger’s maximum input and keeping connectors clean and secure. Match the gauge to the charger’s maximum input and keep connectors clean and secure.
- Install a short, dedicated positive lead from the alternator circuit to the Bluetti Charger, plus a return path to the Bluetti battery bank. If you’re wiring multiple Bluetti units, plan a single feed with appropriate branch fusing rather than individual long runs. The Charger 2 setup emphasizes combined charging with MPPT solar when available, which shapes how you route the cables in a compact under-hood area. Plan a single feed with appropriate branch fusing for multiple units.
- Keep the solar input in play where possible. When solar is available, you can divert some of the charging work to solar to relieve the alternator, especially on longer drives. This aligns with Bluetti’s guidance on coordinating alternator charging with solar charging for best overall performance. Diversion to solar when available helps relieve the alternator.
I dug into Bluetti’s public notes to confirm the continuity between Charger 1 and Charger 2 on road charging. The theme is clear: wiring must be correct, runs short, fusing proper, and solar considered as a co-source to prevent engine stress. For context, Bluetti positions Charger 1 at up to 560W and Charger 2 at up to 1,200W, with both designed to protect starting power when installed per the guides. Charger 1 delivers up to 560W, Charger 2 up to 1,200W.
What changes if you act now
Bluetti’s alternator chargers tilt road charging from a niche perk into a practical standard for RVers. I looked at how the system wires up to the alternator and how the built‑in controls prioritize energy when you’re on the move. The result is a cleaner, more predictable charge window that reduces overnight “top‑ups” at campsites. If you’re weighing gear to keep a larger battery bank happy, this pivot matters.
The bigger pattern is that on‑the‑fly charging becomes a core capability, not an afterthought. As more models from Bluetti and rivals like Goal Zero and Jackery add smarter charging paths, you gain steadier voltage and fewer parasitic losses. That translates into longer liveability off grid and fewer trips to the lid of the generator. A single move that matters is to pair your alternator charger with a well‑chosen solar setup for cloudy days. What is EcoFlow Wave 2 and why it matters for portable cooling in 2026
Backup strategy
- Try a mid‑range Bluetti unit this week to test how quickly it stabilizes your data‑driven run time.
- If you own a diesel‑ or gas‑driven rig, compare Bluetti to a Goal Zero option for how each handles high‑current starts.
- Track ownership costs over a season. Note when you save on idle generator use.